
Installing new flooring in your home can be an exciting transformation, adding value, comfort, and beauty to your living space. However, to ensure the process goes smoothly and efficiently, it’s important to properly prepare your home before the installation begins. A well-prepared space not only makes the job easier for the installers but also helps prevent potential issues that could arise during the installation process. This pre-installation checklist will guide you through the necessary steps to get your home ready for new flooring.
Clear the Area
Before the flooring installation can begin, it’s crucial to clear the area of any furniture, appliances, and personal items. According to our friends at The Flooring Spot, this includes:
- Furniture: Remove all furniture from the room where the flooring will be installed. If the installation is taking place in multiple rooms, you may need to find a temporary storage solution for your belongings.
- Appliances: If the installation is happening in areas like the kitchen or laundry room, be sure to disconnect and move any appliances. This includes refrigerators, stoves, washers, and dryers.
- Decor: Take down any wall hangings, curtains, or window treatments that could get in the way during installation. Removing these items will also prevent dust and debris from damaging them.
- Electronics: Safely disconnect and store any electronics that might be in the installation area, such as televisions, sound systems, and computers.
Pro Tip: Consider labeling items or taking pictures before disassembling complex setups, like entertainment systems, to make reassembly easier after the installation is complete.
Address Subfloor Issues
The condition of your subfloor is critical to the success of your new flooring. Before installation, it’s important to inspect and, if necessary, address any subfloor issues:
- Check for Damage: Look for any signs of damage, such as cracks, uneven surfaces, or moisture issues. These problems should be repaired before the new flooring is installed to ensure a smooth, stable base.
- Moisture Levels: If you’re installing flooring in areas prone to moisture, such as basements or bathrooms, it’s important to check the moisture levels of the subfloor. Excess moisture can lead to problems like warping or mold growth in the new flooring.
- Clean the Subfloor: The subfloor should be clean and free of debris, dust, and adhesive residues. Any dirt or remnants from the previous flooring can interfere with the installation and cause issues down the line.
Pro Tip: If you’re unsure about the condition of your subfloor, consider having a professional inspect it before the installation. Some flooring companies offer this service as part of the installation package.
Remove Old Flooring
In most cases, the existing flooring needs to be removed before the new flooring can be installed. This can be a time-consuming process, especially if the old flooring is glued down or has multiple layers:
- Carpet: If you’re replacing carpet, remove the carpet, padding, and tack strips. Be sure to also remove any staples or nails that may be left behind.
- Tile: Removing tile can be labor-intensive, as it often involves chipping away at the tiles and then scraping off the old adhesive. Be prepared for dust and debris.
- Vinyl or Linoleum: These types of flooring can sometimes be peeled up, but if they were glued down, you might need a scraper or adhesive remover to get the floor clean and ready for new flooring.
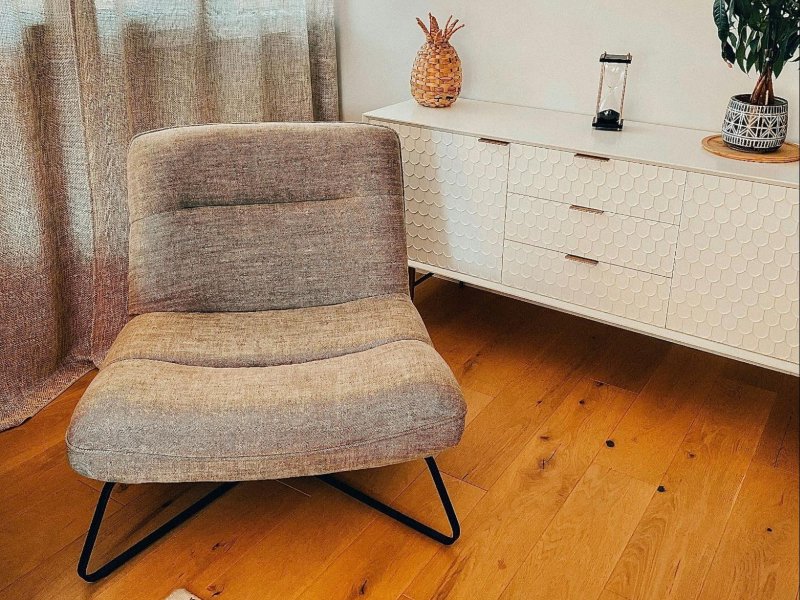
- Wood Flooring: Hardwood floors may need to be sanded or completely removed, depending on the condition and the type of new flooring being installed.
Pro Tip: If removing the old flooring seems like a daunting task, ask your installer if they offer removal services. This can save you time and ensure the subfloor is properly prepped for the new material.
Plan for Waste Disposal
Flooring installation generates waste, including old flooring materials, packaging from the new flooring, and other debris. Plan for how you’ll dispose of these materials:
- Rent a Dumpster: If you’re removing a large amount of old flooring or if the installation covers multiple rooms, consider renting a dumpster for easy disposal.
- Contact a Waste Removal Service: Some companies offer waste removal services, which can be a convenient option if you don’t want to handle the disposal yourself.
- Recycling: If the old flooring materials are recyclable, look for local recycling centers that accept construction waste. Some types of flooring, such as carpet and wood, can often be recycled.
Pro Tip: Speak with your installer about how they handle waste. Some companies include disposal in their installation services, which can simplify the process for you.
Create a Work Zone
Flooring installation can be a messy process, with dust, noise, and equipment being a part of the job. It’s important to set up a work zone that helps minimize disruption to your household:
- Designate a Staging Area: Identify an area where installers can store their tools, materials, and equipment. This should be close to the installation site but out of the way of household traffic.
- Dust Control: Installers often take measures to control dust, such as using plastic sheeting to seal off doorways. However, you might also want to take additional steps, like covering furniture in adjacent rooms or temporarily sealing air vents.
- Access and Parking: Ensure that installers have easy access to the work area and a place to park their vehicles. If you live in an area with limited parking, consider reserving spaces or informing neighbors about the project.
Pro Tip: Communicate with your flooring installation team about your home’s layout and any specific concerns you have regarding dust, noise, or access.
Prepare for Installation Day
On the day of installation, there are a few final steps to take to ensure everything goes smoothly:
- Review the Schedule: Confirm the installation date and time with the flooring company. Make sure you understand the estimated duration of the project.
- Pets and Children: If you have pets or young children, consider arranging for them to stay with a friend or family member during the installation to keep them safe and out of the way.
- Utilities: Make sure the work area has access to electricity and, if necessary, water. Some flooring installations may require the use of power tools or other equipment that needs a reliable power source.
Pro Tip: Walk through the installation area with the lead installer before work begins to discuss any last-minute details or concerns.
After Installation
Once the flooring installation is complete, there are a few steps to take before you start enjoying your new floors:
- Inspect the Work: Take a close look at the finished product to ensure it meets your expectations. Check for any issues such as uneven seams, gaps, or other defects.
- Ventilation: If adhesives were used during the installation, it’s important to ventilate the area to allow fumes to dissipate. Open windows and use fans to circulate fresh air.
- Reinstall Furniture: Once the flooring is complete, you can begin moving your furniture back into the room. Be cautious when moving heavy items to avoid scratching the new floor. Consider using furniture pads or sliders to protect the surface.
Pro Tip: Follow the flooring manufacturer’s care instructions to maintain the beauty and longevity of your new floors.
Conclusion
Preparing your home for flooring installation is an essential part of the process that ensures a smooth, efficient, and successful project. By following this pre-installation checklist, you can help avoid common pitfalls and ensure that your new flooring is installed properly, providing you with a beautiful and durable surface that will enhance your home for years to come. Whether you’re tackling the project yourself or hiring professionals, proper preparation is key to achieving the best results.